How to choose the right soil for your plants (Plus my DIY potting soil recipe!)
I have to admit, for the first decade in my plant parent journey, I didn’t put any thought AT ALL into the type of soil I had my plants in. For the most part, I kept all of my plants in an all purpose potting soil mix that I picked up at Walmart, a hardware store, or wherever it was on sale! The only exception was my succulents—I usually grabbed a little bag of cactus + succulent mix for them. But that was the extent of it!
Now if you’ve done some research online, or you follow any plant gurus on social media, you might be thinking… how did any of your plants survive?? It sometimes seems like you’re supposed to have a fancy, custom (and expensive!) potting mix for each of your plants. Well, let me put your mind at ease and let you know that my plants were just fine in their budget-friendly, generic mix for years.
HOWEVER… (you knew there was a BUT right?!) Did my plants thrive in the all purpose soil? Not necessarily. They seemed healthy for the most part (the few that I killed were not due to problems with the soil lol!) but the soil was not necessarily helping to bring out the best in them. I was also making it more likely for them to suffer from overwatering because their soil wasn’t as well draining as it could be.
The moral of the story is this: Does choosing the right soil for your plants help them thrive? Yes! Is it the absolute most important thing you can do for your plants? No! But it definitely makes a difference, and it’s not as hard as it seems. In fact, you can improve the health of your plants just by adding a couple of ingredients to your generic potting soil… so let’s get into it!
Choosing the right potting mix:
In general, a well-balanced soil mix provides essential nutrients, proper drainage, and aeration for your plants. While different plants can prefer different soil conditions, I’ve found that for plant parents who own mostly common plants, an all purpose chunky soil mix is fine, as long as it provides those requirements. (Of course, do some research on the needs of your specific plants if you have any rare, expensive or fussy plants!) If you want to purchase a ready-to-use mix, look for a blend that offers the following qualities:
- Nutrient-rich: Choose a potting mix that provides essential nutrients for plant growth, such as nitrogen, phosphorus, and potassium. Look for blends labeled as “complete” or “all-purpose” to ensure your plants receive adequate nutrition.
- Well-draining: Proper drainage is crucial to prevent waterlogged soil, which can lead to root rot and other issues. Select a chunky potting mix that contains ingredients like perlite, vermiculite, or sand to improve drainage and aeration. (If you can’t find soil with these ingredients, I’ll share my own DIY soil mix recipe below!)
- Moisture retention: While drainage is important, it’s also essential for the soil to retain some moisture to keep your plants hydrated. Look for mixes with ingredients like peat moss or coconut coir, which help retain moisture without becoming waterlogged.
- pH balanced: Some plants have specific pH requirements for optimal growth, so do some research if you have any rare or finnicky plants. Otherwise, choose a potting mix with a neutral pH.
- Sterile and pest-free: Ensure that the potting mix is sterile and meant for indoor plants.
My DIY potting soil mix recipe:
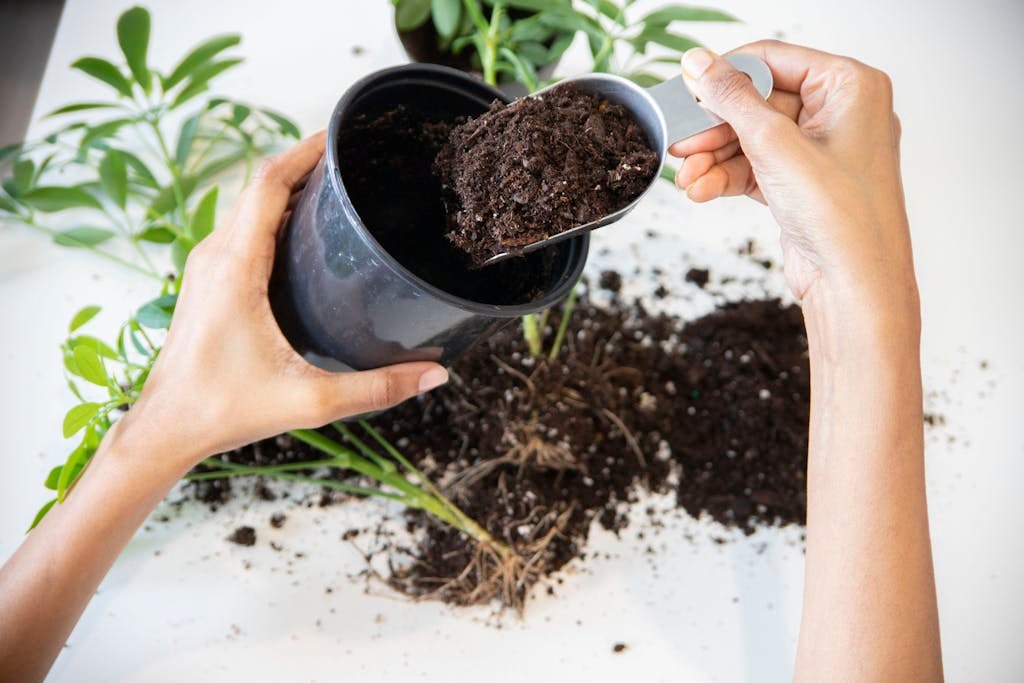
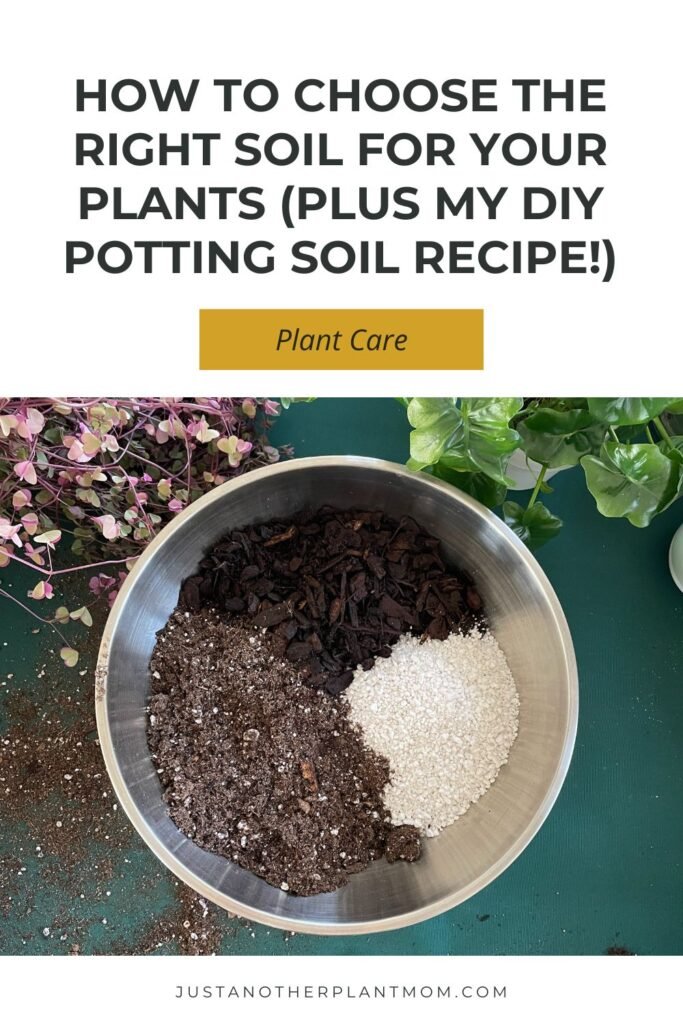
If you’re having trouble finding an all purpose soil that meets all of the requirements above, then you can easily make some amendments to any soil that you purchase. I used to be really intimidated by the idea making my own soil mix. However if you start with an all purpose soil, then add a few easy-to-find ingredients, you’ll have a nice chunky mix that your plants will love. I use this for 95% of my plants and they are super happy in it!
Ingredients:
- 1 part peat moss based all purpose soil
- 1 part perlite
- 1 part orchid bark
- Optional: 1 part coarse sand for additional drainage (this can be helpful for Oxalis or plants that prefer a grittier texture.)
I specifically choose perlite and orchid bark to add in to my soil because they are inexpensive and easy to find. But, if you want to be even more extra with your soil, go nuts! Try adding some coconut coir or worm casings to the above mix.
Storing your DIY potting soil mix:
Personally, I keep the 3 above ingredients on hand in their original packaging and just mix up a small batch of DIY soil mix whenever I need to repot a plant. However, you could mix up a large batch and keep it in a big rubber bin. Just be sure to open the bin occasionally and let it air out so that it doesn’t get moldy.
Soil requirements for common houseplants:
As I mentioned earlier, different indoor plants have varying soil requirements. However, many will do well in my DIY potting soil mix. Here are some examples of house plants that I grow in that mix:
- Spider plant
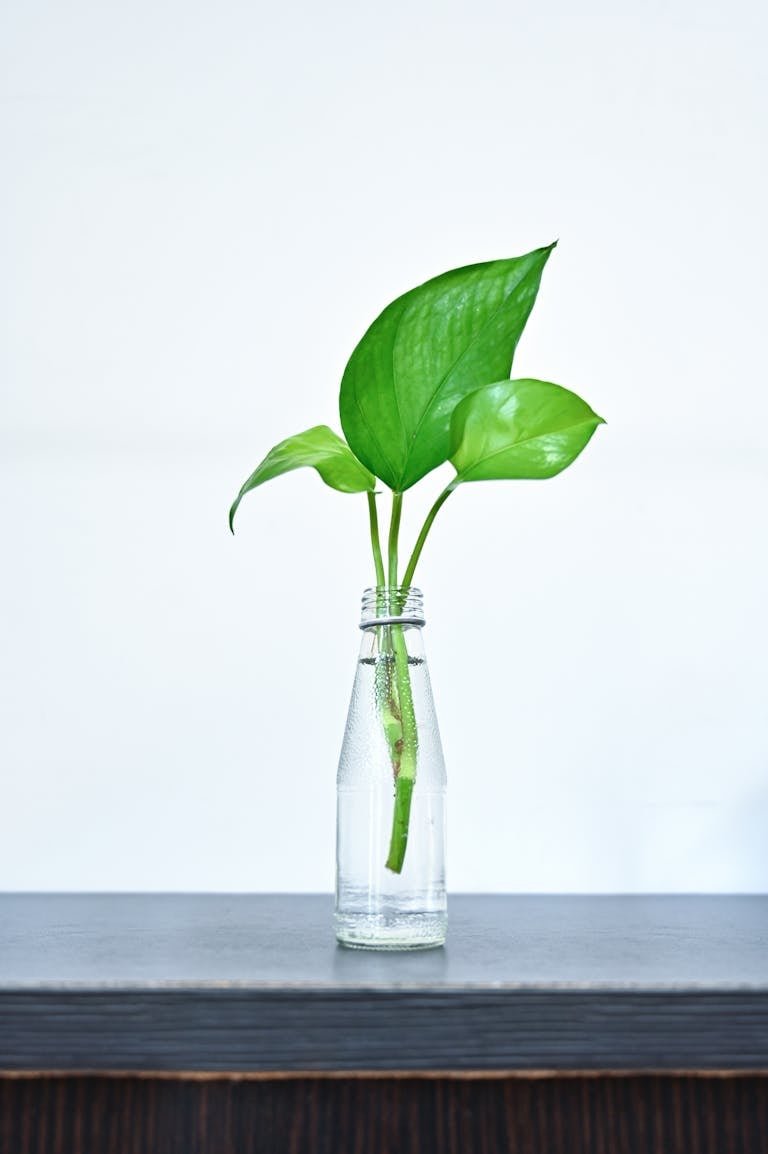
- Pothos
- Philodendron
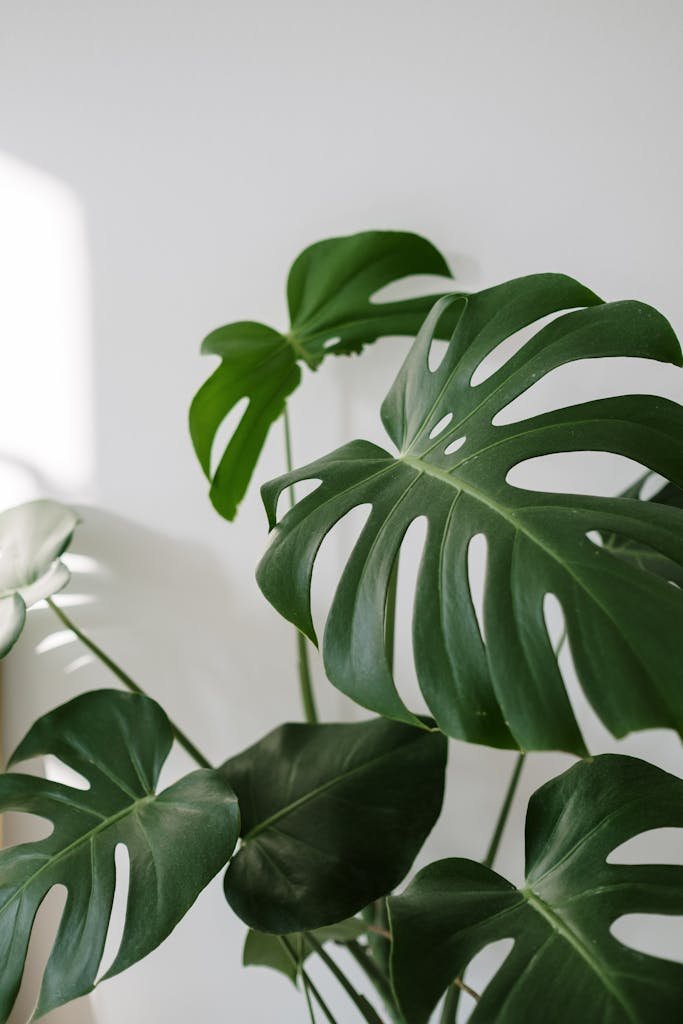
- Monstera
- Rubber plant
- Pilea pepperomioides
- Hoya/wax plant
- Dieffenbachia
- Ficus
- Dracaena
- Oxalis (with some added sand)
For cacti and succulents, I would use a cactus + succulent mix as the base, then add more perlite and orchid bark to make it chunkier if needed. If I don’t have a cactus + succulent mix on hand, then I just add more perlite and bark than I typically would. I want the soil to be very chunky and well draining.
While I don’t have many rare or fussy plants, I do have a few, including an Alocasia and two varieties of Calathea. There’s lots of information out there on what kind of soil these plants prefer, everything from basic soil mixes to semi-hydro setups. I am by no means an expert on these plants, so I suggest you do you own research if you own them. I will tell you, however, I currently have mine in the same DIY mix as all of my other plants and they are happy and healthy.
Tips for soil maintenance and repotting:
- Repotting: Most indoor plants benefit from repotting every 1-2 years to refresh the soil and provide room for root growth. Monitor your plants for signs of being rootbound, such as roots pushing through the drainage holes, slower growth or needing to be watered more frequently than usual. If you find your plant is rootbound, repot in a slightly bigger pot (1 to 2 inches larger.)
- Drainage: Even with a good draining soil, you have to be careful about how much you water your plants. Overwatering is one of the most common mistakes that plant parents make! Be sure to use a planter that has drainage holes so that water isn’t being trapped in the soil. If your pot doesn’t have holes, just use an inexpensive nursery pot inside of the decorative pot (just be sure to dump any excess water that has collected in the pot.) Finally, always check the soil moisture level before watering to avoid overwatering. (You can find more tips about watering your plants here!)
- Fertilizing: If you’re using an all purpose soil mix, it will likely already have a balance of nutrients (check the label to be sure) so you don’t want to fertilize immediately after repotting your plant. However, after a month or so you can continue with your regular fertilization routine based on the package directions. I personally like to dilute my fertilizer slightly more than recommended by the package just to be safe and avoid overfertilization.
- Pest control: As always, keep an eye out for signs of pests, such as black or white dots, damage to the leaves, tiny webs or visible bugs or flies. Quarantine and treat affected plants.
Conclusion:
Hopefully this post help to put your mind at ease when it comes to choosing soil for your plants or making your own. Although it might feel a little intimidating to make your own soil, I promise, it’s not hard at all and it feels very rewarding! If there’s one final tip that I can give you when it comes to soil it’s this: the chunkier the better! If the soil you bought isn’t chunky, add some perlite and orchid bark. Simple! Let me know if you plan to try my DIY soil mix or what you like to add to yours!
