The complete guide to caring for your rubber plant (Ficus elastica)
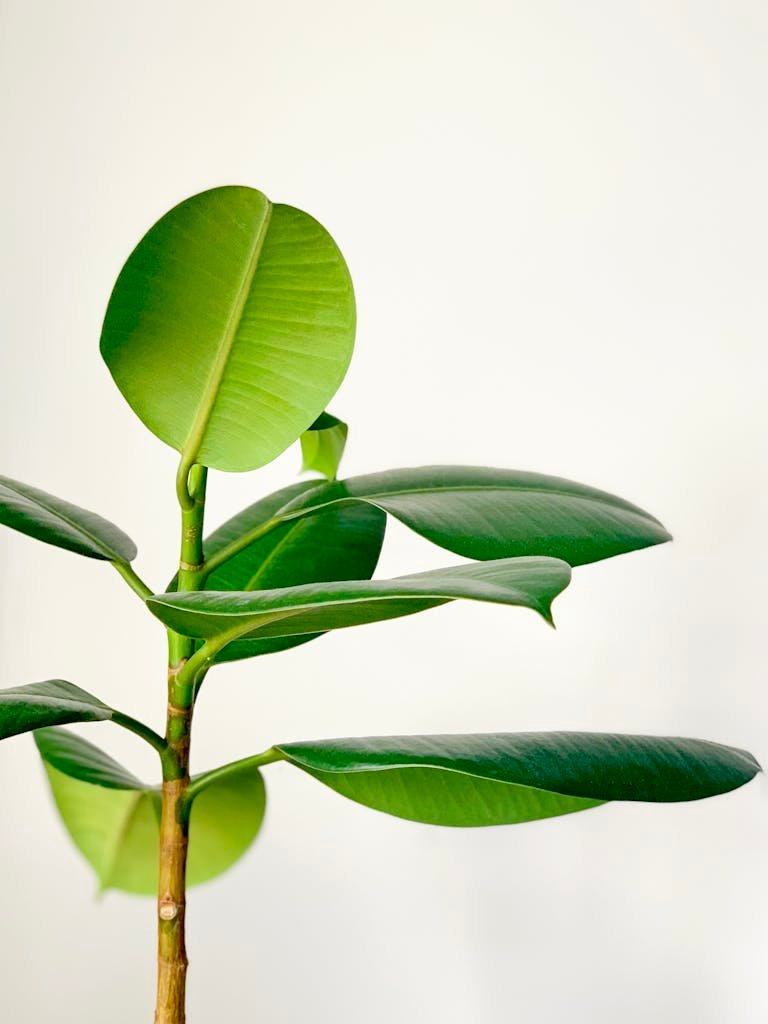
Rubber plants have always been a favorite of mine. I love that they look like little trees in your home. I personally have two different varieties, a classic rubber plant and a Tineke (which I adore!) I can’t get enough of their big, beautiful, glossy leaves! Rubber plants are also relatively easy to care for, which is a big plus.
The rubber plant (Ficus elastica) is native to Southeast Asia and is a member of the fig family, Moraceae. It’s thick, rubbery leaves give off a rich, tropical vibe, and I love that it comes in a variety of colors. Rubber plants can grow quite tall if given the space, so they can definitely be a statement piece in your room!
While rubber plants are generally easy to care for, they can be a bit picky about their environment, in particular being moved around to new locations. I’ll share the ideal environment and conditions below, but the best tip I can share is that once you find a spot that your plant love, leave it there! Rubber plants don’t like change! 🤣
Note: Rubber plants are toxic, so keep them away from pets. The sap of the plant can also be mildly irritating to skin, so be careful when pruning.
Rubber plant varieties
While the classic rubber plant with dark green leaves is the most common variety, there are several cultivars available that you might come across:
- Ficus elastica ‘Burgundy’: I love how dramatic this one looks with its deep burgundy-colored leaves. Definitely on my wish list!
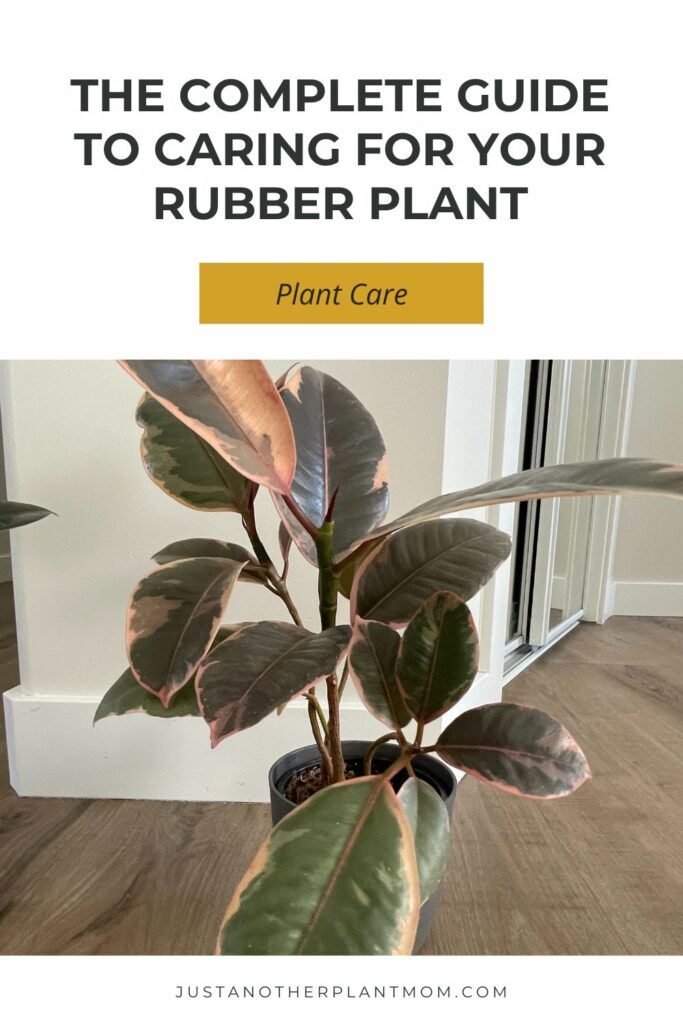
- Ficus elastica ‘Tineke’: My personal favorite—its leaves are a mix of dark green, light green, and creamy white.
- Ficus elastica ‘Robusta’: As the name suggests, ‘Robusta’ has larger, broader leaves compared to the classic rubber plant.
- Ficus elastica ‘Ruby’: Another beautiful variety with tricolor variegated leaves that are a mix of pink, green and cream.
Regardless of the variety, the care requirements for rubber plants remain relatively consistent.
How to care for your rubber plant
Light requirements:
Rubber plants thrive in medium to bright, indirect light. I’ve actually seen rubber plants classified as a “low light” plant occasionally, but this is not necessarily true. While they can tolerate lower light conditions, without access to bright light they’re likely to become leggy and lose their bottom leaves. Rubber plants definitely prefer lots of bright light. Don’t place your plant in direct sunlight though because this can scorch its leaves. (Learn more about light requirements for your plants here!)
Watering requirements:
Like many indoor plants, overwatering is a common issue with rubber plants. Allow the top inch or two of soil to dry out between waterings, and then water your plant thoroughly. Rubber plants do like the soil to remain somewhat moist, so don’t let it completely dry out. This can be the most challenging part of owning a rubber plant—finding the balance between not overwatering and not letting it dry out completely! During the growing season (spring and summer), you may need to water more frequently, but in the winter months, reduce watering to prevent waterlogged soil and root rot. (Get more tips on how to water your plants here!)
Soil requirements:
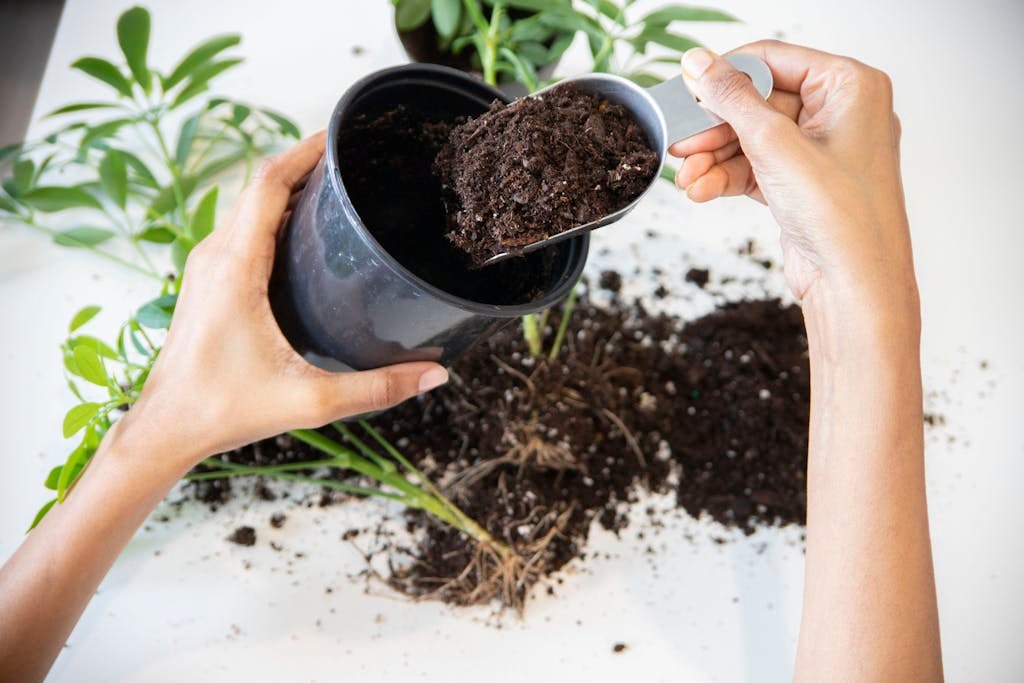
Rubber plants prefer a well-draining potting mix that retains moisture without becoming waterlogged. I use my classic mix of potting soil, perlite, and orchid bark for my plants. Repot your rubber plant every couple of years to refresh the soil and provide it with fresh nutrients. Choose a slightly larger pot if the plant becomes root-bound. Finally, you can also add some houseplant fertilizer every 2-4 weeks (according to package directions) in the spring and summer months.
Temperature and humidity:
Rubber plants prefer typical indoor temperatures ranging from 60°F to 75°F (15°C to 24°C). They can tolerate slightly cooler temperatures, but keep them away from cold windows, drafts or sudden temperature fluctuations. While they can adapt to average indoor humidity levels, they do enjoy slightly higher humidity. Consider placing them near other plants to naturally increase humidity (this creates a more humid microclimate) or add a humidifier depending on how dry your environment is. I personally haven’t found a humidifier necessary, but it definitely depends on the conditions in your space.
Other maintenance tips:
The large, shiny leaves on a rubber plant can collect dust fairly quickly. It’s important to regular dust the leaves so they can absorb sunlight and properly photosynthesize.
As your plant grows, it might need some support to help keep it upright—especially if it gets really tall. Consider adding a stake or wooden dowel if needed. Or, you can always prune your plant to keep it a more manageable size.
Troubleshooting issues with your rubber plant
- Yellowing leaves: This can indicate overwatering, underwatering, or inadequate light. Check the soil moisture and adjust your watering frequency accordingly. Make sure your rubber plant is receiving sufficient indirect light. Because there are so many potential causes to yellow leaves, I wrote a whole blog post about it!
- Brown tips on leaves: Low humidity or excess fertilizer may cause brown tips on the leaves. Increase humidity by placing a humidity tray nearby, and avoid overfertilizing your plant.
- Wilting or drooping leaves: This is often a sign of underwatering. Check the soil moisture regularly and adjust your watering schedule as needed.
- Pests: While rubber plants are relatively resistant to pests, you may occasionally see spider mites, fungus gnats or mealybugs. If you spot any, isolate the plant and treat it with insecticidal soap according to the package instructions.
- Leggy growth or losing bottom leaves: If your rubber plant becomes leggy, or starts dropping lower leaves, it’s probably not receiving enough light. Move it to a brighter location.
Propagating your rubber plant
The easiest way to propagate your rubber plant is through stem cuttings, during the growing season (spring and summer.)
Stem cuttings:
Find a healthy stem on your rubber plant, around 6 inches long (or longer) that has at least 3-4 nodes (where leaves are attached). Cut the stem under the node with clean pruning shears at a 45 degree angle. If the cutting drips sap, blot it with paper towel until it stops, and be careful not to get it on your skin. Remove the bottom leaves, so that only one or two on top remain.
Place the cutting directly in moist potting soil (using a mix as described in soil requirements above), and keep it in a warm, bright location. You can dip the stem in rooting hormone powder prior to planting to help encourage growth. Roots should develop after a month or so. If you want to support your cutting even more, place it in a humid environment like a greenhouse cabinet, or add a clear ziploc bag loosely over the top.
Fun fact about rubber plants:
Rubber Plants can grow up to 100 feet in the wild! As a houseplant, however, rubber plants will grow anywhere between 6-10 feet tall in ideal conditions.
Conclusion
Although rubber plants can take a little trial and error, the results are totally worth it. Once you figure out how to keep your rubber plant happy, it will grow beautifully for you for years! I have no doubt it will become one of your favorite plants too!
